Most homeowners installing an EV charger have already decided they want a Level 2. The actual decision is what size, where it goes, and whether the panel can handle it. We start every project by separating those three questions, because the wrong answer to any one of them can make the install slower, more expensive, or both.
A Level 1 charger plugs into a standard 120V outlet and gives roughly 4-5 miles of range per hour. That works if the daily commute is short and the car parks overnight. A Level 2 charger runs on 240V and gives 25-35 miles of range per hour, sometimes more depending on the charger and the vehicle. The difference matters when the daily drive is longer, when there’s more than one EV in the household, or when the homeowner wants the option to top off a battery in a couple of hours rather than overnight.
Charger sizing splits into three common paths. A 32-amp charger needs a 40-amp circuit. A 40-amp charger needs a 50-amp circuit. A 48-amp charger needs a 60-amp circuit and is usually hardwired rather than plug-in. NEC 625.41 requires the branch circuit to be sized for 125% of the charger’s continuous load, which is what drives that math. Most homeowners land at 40A or 48A. The vehicle’s onboard charger caps how fast it can actually charge, so installing a 48A unit on a vehicle that can only accept 32A doesn’t add charging speed. We ask what the vehicle is and how the homeowner uses it before specifying.
Will the panel handle it?
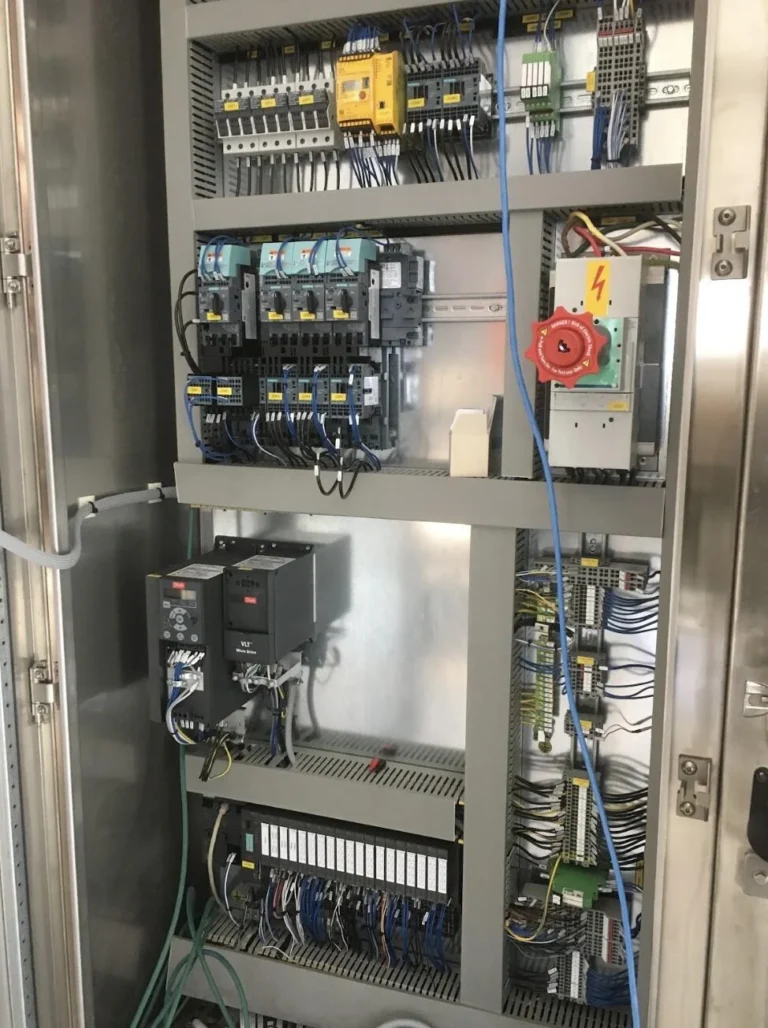
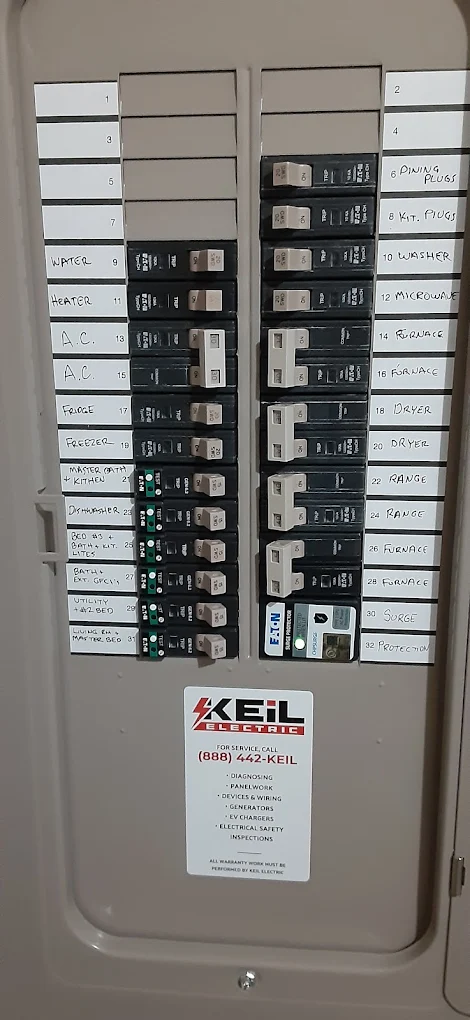
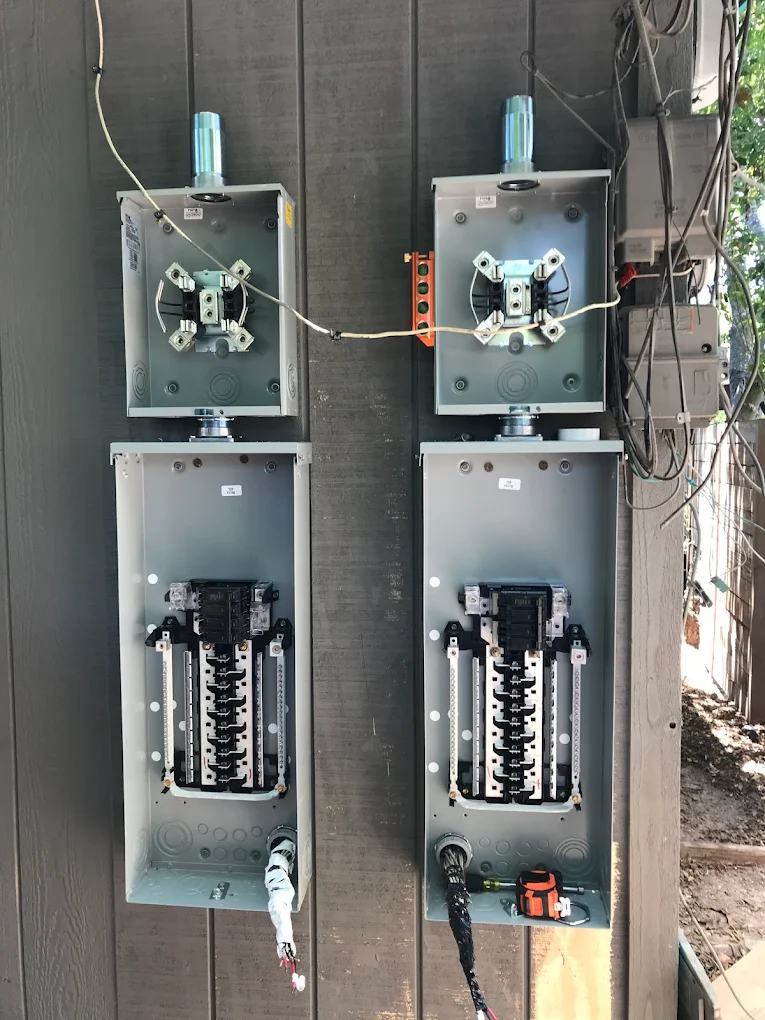
This is the question that decides whether the install is half a day or three days. A modern 200-amp service can usually accept a 40A or 48A EV charger circuit without a panel upgrade, especially in homes that aren’t running heavy AC, electric range, electric water heater, and electric dryer all at once. A 100-amp service in an older home is often the constraint. Adding a 48A charger circuit can push the calculated load past what the service is rated for.
We run a real load calculation per NEC 220 before quoting. The calc looks at the home’s continuous loads (HVAC, water heater, range), the demand factors that account for what actually runs at the same time, and the charger’s added load. If the math works, we install the charger circuit. If it doesn’t, the conversation changes to “panel upgrade plus charger” or “smaller charger with smart load management.” Both are real options. We tell the homeowner which one fits the budget and the timeline, not which one is biggest.
Plug-in or hardwired
Plug-in chargers (NEMA 14-50, sometimes 6-50) are easier to swap if the homeowner replaces the unit later. They’re also portable. Take the charger to a new house and plug it into the same outlet type. The trade-off is that NEMA 14-50 outlets in continuous-load applications max out at 32A charging, because the breaker has to be sized 125% of continuous load. Going to 48A means hardwired.
Hardwired installs run the wire directly from the breaker into the charger. Higher amperage is allowed (up to whatever the wire and breaker support), and the install looks cleaner since there’s no outlet visible. The downside is that swapping the charger later means an electrician visit, not a plug pull.
For most homeowners we see, the right call is 40A plug-in (32A charging) for daily drivers and 48A hardwired for households with two EVs or homeowners who want maximum flexibility on the next vehicle.
Where does the charger physically sit?
The wire run from the panel to the charger location is one of the biggest cost variables on an install. A short run (panel and charger on the same wall, 10-15 feet apart) is fast. A run that has to cross the house, with the panel in a basement utility room and the charger in a detached garage, needs more wire, more conduit, and sometimes a junction box or two along the way.
We document the run on the site visit. The path matters: finished walls (drywall to be patched), unfinished walls (clean), an attic or crawl space, or external conduit. Each option has different cost and time implications, and we give the homeowner the trade-offs in writing before we start.
Wall-mount chargers are the standard. The mount has to land on a stud or a properly-rated mounting surface for the weight of the unit plus the cable. Outdoor installs need weather-rated equipment and proper drip loops on the cable. Apartment-garage installs have their own set of HOA approval steps that we walk through before quoting.
Permit, inspection, and the final test
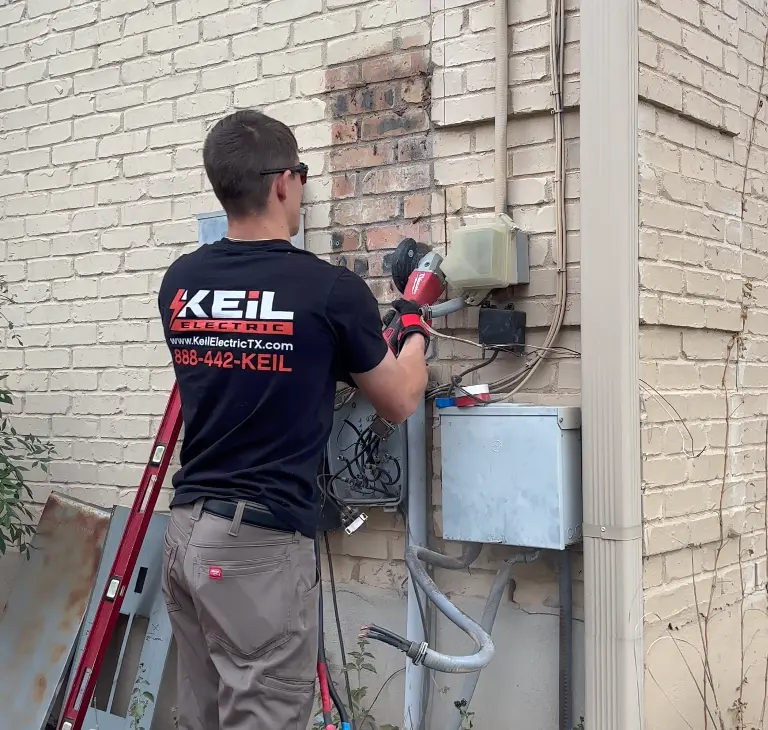
EV charger installs are required to be permitted in nearly every city we serve. The permit triggers an inspection where the local electrical inspector verifies the breaker size, the wire gauge, the GFCI or AFCI requirements (varies by city), the disconnect, and the bonding. We pull any required permit, schedule any inspection, and handle the meeting with the inspector.
The final test is straightforward when the install is done correctly. We power up the charger, run a charge cycle on the customer’s vehicle, verify the breaker doesn’t trip, and check the charger’s status indicators. We hand over the charger app instructions and walk through how to monitor charging from the homeowner’s phone if the unit supports it.
Realistic install timelines
A clean install on a 200A panel with a short wire run is usually 2-4 hours on site. Add wire run length, panel work, attic or crawl-space routing, or HOA-mandated conduit and the time grows. We confirm the timeline in the written quote so there are no surprises on install day.
The longest part of most projects isn’t the install itself. It’s the permit and inspection scheduling, which depends on how busy the local building department is. Some cities turn permits around in a day. Others run two to three weeks. We tell the homeowner the realistic permit timeline upfront so the calendar conversation happens before deposit.
Common reasons projects get more complicated than expected
The panel is older than the homeowner thought. Federal Pacific, Zinsco, and Challenger panels have known issues that often surface during the load review. We document and quote the Panel Upgrade as a separate scope rather than working around it.
The wire run has to go through finished spaces. Patching drywall, paint matching, and trim work add real labor. Sometimes the cleaner answer is exterior conduit, which is cheaper to install and easier to inspect.
The HOA wants something we didn’t expect. Some HOAs require specific conduit colors, specific mounting locations, or pre-approval of the equipment. We build HOA submission into the quote when the homeowner flags it.
Solar exists. Homes with solar PV and battery storage have additional rules about how the EV charger ties into the existing service equipment. The math is different and the install path often involves coordination with the solar contractor.
What we tell every customer before install day
Run the dishwasher and the dryer at the same time before charger install. If the lights dim or anything trips, that’s a load symptom we want to know about. The charger will only add to the load.
Don’t move equipment in the panel area. Inspectors check working clearance around the panel per NEC 110.26 (typically 30 inches wide, 36 inches deep, 6.5 feet high), and clutter slows down the inspection.
Plan for the full charging cycle on install day. We charge the vehicle as part of the final test, which means the car has to be parked at the location and unlocked or with the charging port accessible.
Ask for the quote in writing. A real EV charger quote separates the charger, the breaker, the wire run, the conduit, the permit, and the inspection coordination. Lump-sum quotes hide variables that come up later.
Common install scenarios we see
Three install patterns cover the majority of home EV charger work. Knowing which one fits before the quote keeps surprises out of the install.
Scenario A: single-EV daily driver, attached garage, panel has capacity
The most common scenario. Homeowner has one EV, parks it in the attached garage overnight, and the existing 200-amp panel passes the load calculation per NEC 220 with capacity for a 32-amp or 40-amp charger. Install is a NEMA 14-50 outlet on a 50-amp circuit (for the 40-amp charger) or a hardwired 40-amp circuit, fed from the panel through the wall to the garage. Single-day install, permitted, inspected.
Scenario B: two-EV household, panel needs help
Two vehicles charging overnight with a panel that does not pass the load calculation for two 40-amp chargers. Three paths apply: panel upgrade to 200A service, smart load management equipment that throttles non-critical loads when the chargers run, or staggered charging on a single shared 48-amp circuit. The right answer depends on the panel’s current load, the homeowner’s daily driving pattern, and budget.
Scenario C: detached garage or long wire run
Detached garage or long run from the panel to the charger location. Voltage drop becomes a sizing factor on runs over ~80 feet at 40-48 amps. We size the conductor for the run distance, route through conduit per NEC where outdoor portions apply, and document the path. Long runs sometimes justify upsizing the conductor to keep voltage drop under 3%, a real-world constraint that affects materials cost.
Smart load management as an alternative to panel upgrade
Smart load management equipment monitors the home’s total electrical load in real time and throttles the EV charger when other loads spike. The hardware sits between the meter and the panel (or as a module integrated with a compatible panel) and signals the charger to reduce output when the home is approaching its service capacity.
This is a real alternative to a panel upgrade in some scenarios. A 100-amp panel that does not pass the NEC 220 load calculation for a 40-amp charger sometimes passes when the charger can be throttled, the load calc with smart management treats the charger as a controllable load.
The tradeoff is real. Smart load management adds equipment cost. The charger sometimes runs at reduced amperage during peak household load. The homeowner has to be comfortable with variable charge rates rather than guaranteed full output. For households where charge time is not critical (overnight charging, single EV), this is an excellent path. For households where every kWh of overnight charging matters, the panel upgrade is the better answer.
Pre-wiring during new construction
For a new home or a home being built, EV pre-wiring is dramatically cheaper than retrofit. The conduit run from the panel to the future charger location goes in during rough electrical, before drywall closes the walls. The actual circuit can be pulled later when the charger is installed.
Pre-wiring during construction typically includes:
- Conduit from the panel to the garage at the planned charger location
- Conductor pulled through the conduit at install time, sized for the eventual charger
- Junction or pull box at the charger location, capped until charger install
- Reserved breaker space in the panel and breaker landing on the bus
The cost during construction is a few hundred dollars in additional materials and labor. The cost to retrofit the same install after walls are closed can run an order of magnitude higher, particularly if the wall path is difficult or fishing the conduit through finished construction is impractical.
Smart-charging features and what they actually do
Modern Level 2 chargers come with WiFi connectivity and app-based scheduling. The features that matter most:
- Time-of-use scheduling. Charge during off-peak utility hours (where TOU rates apply) and skip peak hours. Saves money where utilities offer TOU rates.
- Charge limit per session. Cap the daily charge at the amount the homeowner actually needs, reducing battery wear over years.
- Energy reporting. Track kWh delivered per session, useful for taxes if the home is also a business location, and for understanding actual electricity cost.
- Solar integration. Some chargers integrate with home solar systems to charge from solar generation when available.
The features are useful but not necessary. A simple hardwired charger without WiFi works as well for daily charging, the homeowner plugs in and the EV charges. The smart features are worth paying for when the household actually uses TOU rates, has solar, or wants the data.
Six common installer mistakes to ask about
If the homeowner is comparing quotes from multiple electricians, these are reasonable questions to ask. The answers tell you whether the quote covers a real install or a corner-cut.
- Is the load calculation per NEC 220 included in the quote? Without it, the install is a guess.
- Is the breaker sized for 125% of continuous load per NEC 625.41? A correctly-sized breaker for a 40-amp charger is 50 amps, not 40. Some installers size to the charger amperage instead of the continuous-load rule.
- Is the wire gauge rated for the breaker, accounting for distance? Voltage drop on long runs sometimes requires upsizing.
- Is GFCI protection per NEC 210.8 included? Many Level 2 chargers include integrated GFCI; some require an external GFCI breaker. The quote should specify.
- Is the permit pulled by the contractor, with inspection coordinated? Permit-skipped installs are not legal and the homeowner inherits the liability.
- What is the warranty on the install separate from the charger’s manufacturer warranty? A real install warranty covers the wire, conduit, breaker, and terminations, not just the charger itself.
Brands and equipment we install
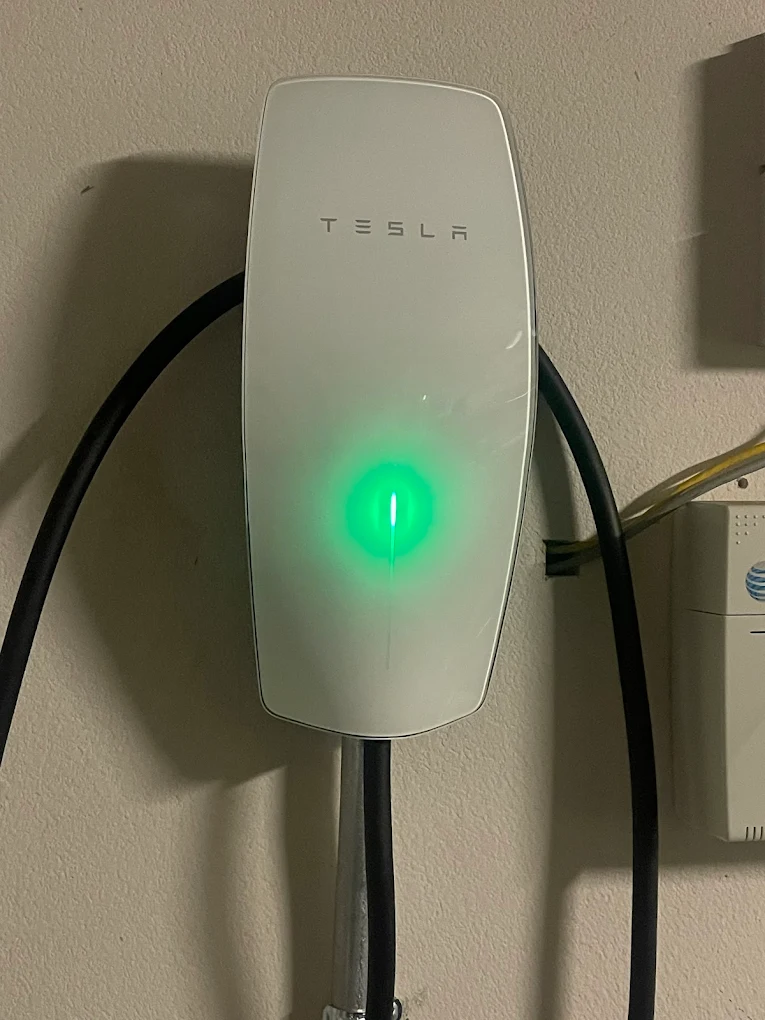
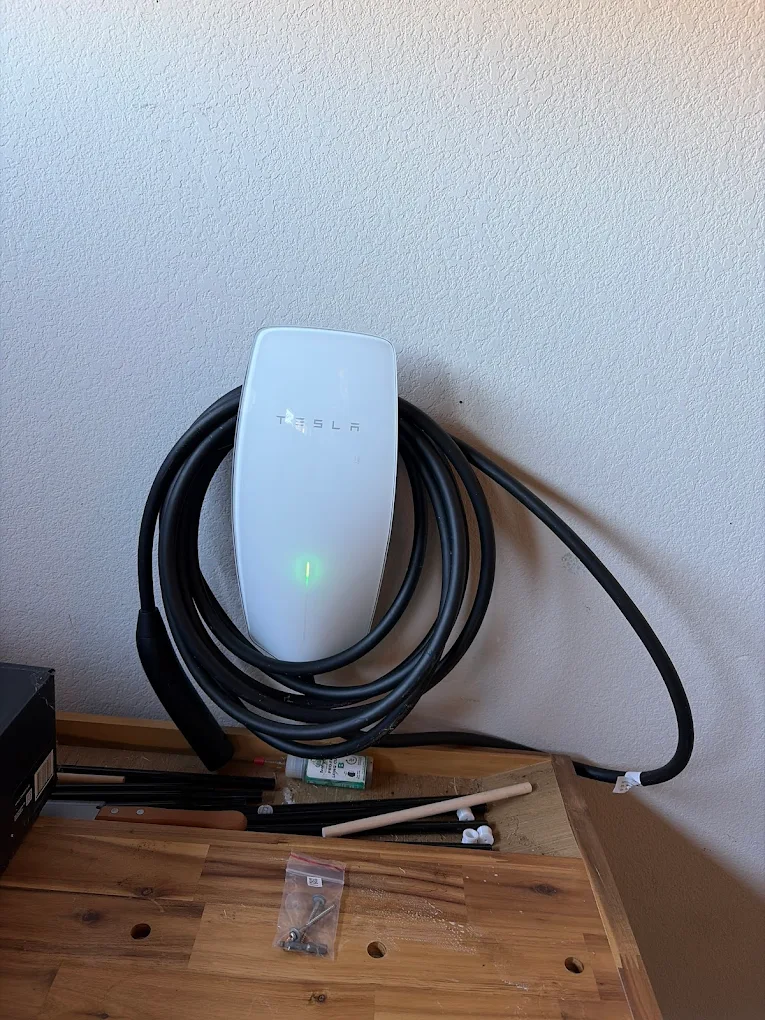
We install Tesla Wall Connector, ChargePoint Home Flex, JuiceBox 40, Wallbox Pulsar Plus, and Emporia Level 2 chargers as our standard residential brands. We also handle owner-supplied units from any major manufacturer (Grizzl-E, Enphase, Schneider, Siemens, and others). The wiring and circuit work is the same regardless of which charger goes on the wall, so you can bring your own or we will supply one as part of the install.
For Tesla owners, we install both the Tesla Wall Connector (hardwired, up to 48A continuous) and a NEMA 14-50 outlet for the Tesla Mobile Connector (plug-in, up to 32A). For non-Tesla EVs, we work with any J1772-compliant Level 2 charger your manufacturer warranty supports.
Common EV charger questions in our service area
Most installs are a Level 2 charger on a 40A or 50A breaker, dedicated 240V circuit run from the panel to the charger location. Cost depends on the panel-to-charger distance, whether the existing service has capacity for the new circuit, and whether you choose hardwired or plug-in. We walk every install in person before quoting.